Start with the guided setup wizard and review the settings before applying them. You can also configure the plugin manually. This page is the short path from a fresh install to a site whose logins are limited, whose administrators use a second factor, and whose admin gets an email when something is off.
1. Apply the recommended settings
Open FluentAuth → Security. The Findings screen lists the plugin’s own recommended settings next to a few checks on the site itself, each with a sentence on why it matters.
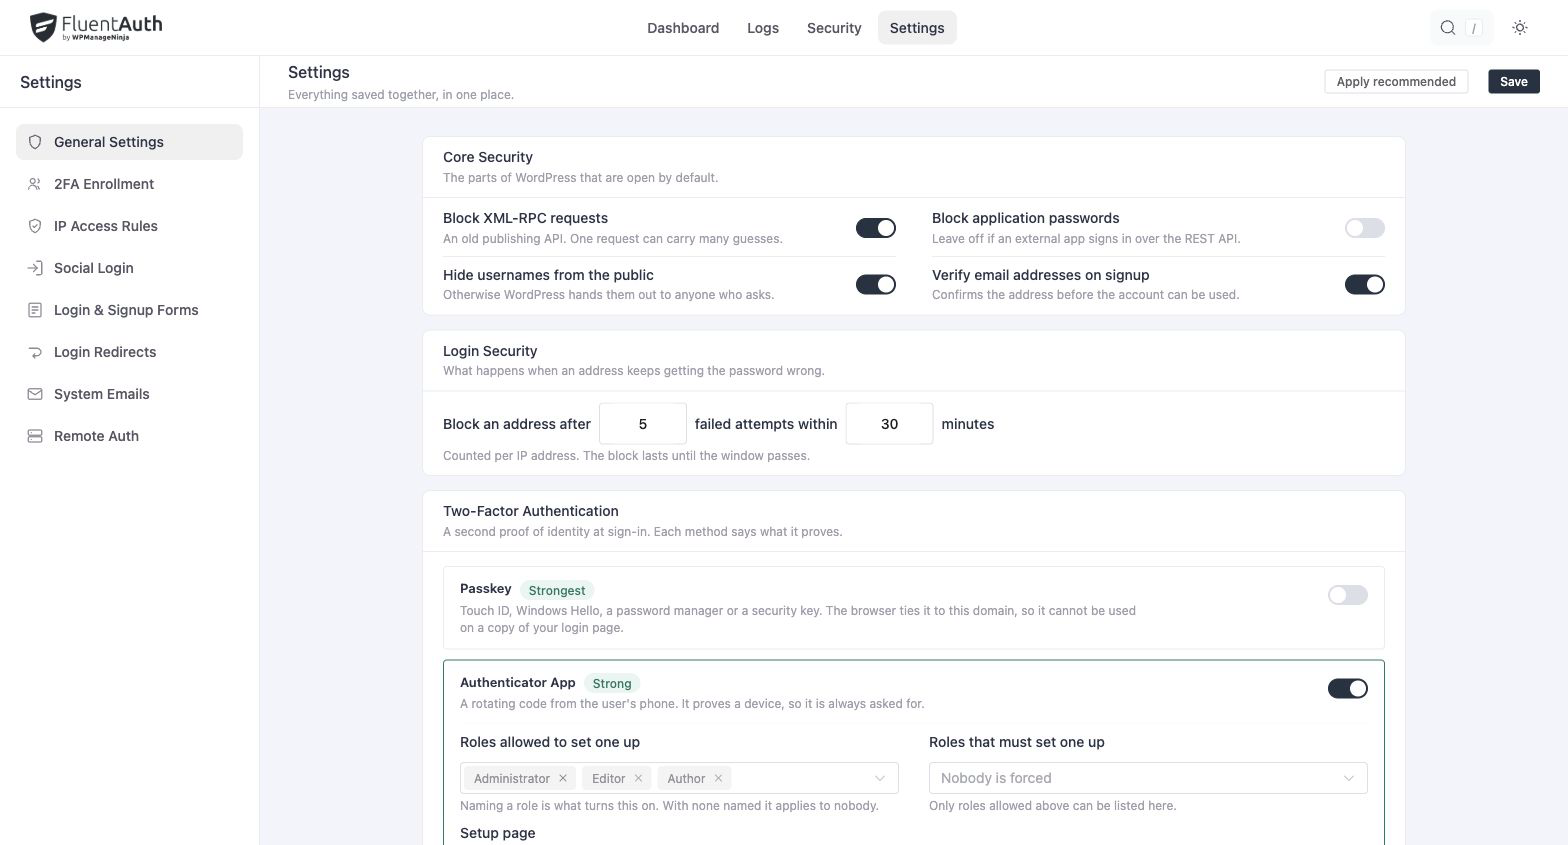
Open Settings → General Settings and click Apply recommended. That turns on, together:
- Two-factor authentication by email for administrators, editors and authors
- Block XML-RPC requests
- Hide usernames from the public
- Verify email addresses on signup
- Keep subscribers out of wp-admin (hides the admin bar and redirects them to the site)
It does not touch application passwords, trusted-proxy settings or authenticator-app enforcement. Those depend on how you use the site, so they stay yours to decide.
2. Check the attempt limit
Go to Settings → General Settings → Login Security. The defaults are five failed attempts from one IP address within 30 minutes. They suit almost every site. If your team shares an office connection and mistypes passwords, raise the count rather than the window.
Details: Limit login attempts.
3. Set up your own second factor
Recommended settings turn on two-factor by email for high-level roles, which means it now applies to you. Before you sign out, make sure the email address on your profile is one you can read.
You can also use passkeys. If you would rather use an authenticator app, enable it under Settings → General Settings → Two-Factor Authentication, then enrol from your profile and save your recovery codes somewhere safe. Details: Two-factor authentication.
4. Choose who gets emails
Under Settings → General Settings → Notifications:
- Email me when these roles sign in defaults to Administrator, Editor and Author.
- Email me when someone is blocked is on.
- Send to defaults to
{admin_email}; add more addresses separated by commas. - Summary email: pick daily, a weekday, or monthly if you want a digest rather than individual alerts.
Details: Notifications.
5. Optional: turn on magic login and social login
If your site has customers, members or students, magic login cuts password resets, and social login with Google, GitHub or Facebook removes the signup form altogether. Both are off by default and take a few minutes each.
6. Test it
Open a private browser window and:
- Try a wrong password six times. The sixth attempt should be blocked, and you should receive the blocked-login email.
- Sign in correctly. You should be asked for your second factor, then land on the page your redirect rules send you to (the dashboard, by default).
- Open FluentAuth → Logs. Both the blocked attempt and your successful login are there, with the method used.
Do the blocked-attempt test from a phone on mobile data rather than from your own connection, so you are not the one who gets locked out for the next 30 minutes.