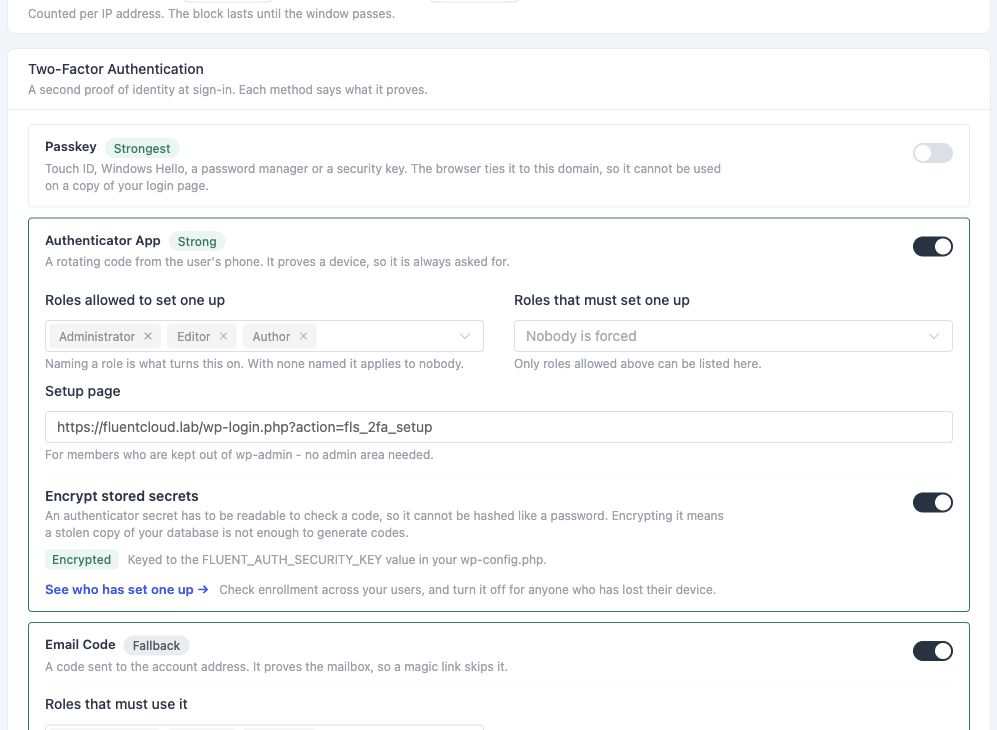
How the policy works
- Choose the roles that need verification and the methods they can use.
- Have users enrol their device method and save recovery codes where applicable.
- Test sign-in and recovery before requiring the policy across the team.
An authenticator app generates rotating codes. A passkey uses a registered authenticator. Email verification sends a code to the account’s mailbox.
Start with the roles that can change the site
Administrators are a natural starting point. Editors and other staff may need protection too, depending on what their roles allow. Test any custom checkout or member login alongside the standard WordPress flow.
Does a magic link count as a separate factor from an email code?
Both prove access to the same mailbox. A magic link does not trigger another email challenge, but a required device factor still applies. Choose a device method when you need verification independent of email.