A practical WordPress login policy for a growing team
Choose protection by role, help members sign in and give your team a clear way to review activity. A practical FluentAuth rollout for an existing site.
A WordPress site gets more complicated as more people work on it. An editor needs to publish, a contractor needs access for a project and a member wants to reach their account. A useful login policy should account for those differences.
Start with three questions: who can change the site, how should each person prove their identity, and who will review unusual activity? FluentAuth brings several of the controls for that policy into one place.
Give each person the access their work needs
Review your WordPress accounts before changing the login experience. Use individual accounts for staff so activity can be associated with the person doing the work. Check which people still need administrator access and use WordPress roles appropriate to their responsibilities.
For a contractor, agree who owns the account review when the project ends. FluentAuth’s logs can provide context, but assigning permissions and deciding when access should end remain part of your team’s process.
Write down a simple policy rather than assuming everyone needs the same settings:
| Audience | What to decide first | A useful starting point |
|---|---|---|
| Administrators | How to verify the people who can change the site | Role-based two-factor authentication |
| Editors and staff | How verification fits their daily publishing work | A tested sign-in and recovery flow |
| Members and clients | How to make returning to their account easier | Social login or magic links |
| Site maintainers | Who reviews alerts and unexpected changes | Activity logs and notifications |
Add verification before relying on network rules
A correct password can still be used by the wrong person. Two-factor authentication adds another check for the roles you select. Passkeys, authenticator apps and emailed codes are all available, with recovery codes as the fallback.
A device method provides verification independent of the mailbox. With a passkey, a registered authenticator answers a challenge tied to your site. With an authenticator app, the user supplies a rotating code. Have a team member enrol and test the method before requiring it more widely.
If you also use network restrictions, keep their purpose clear. An address allowed to skip attempt limits is not exempt from two-factor authentication. A known office connection is useful context, not proof of who is using an account.
Make the member journey easier
Staff protection and member convenience can be planned together. Offer a social login provider your audience recognises, or a magic link for people who visit too infrequently to remember another password.
Magic links depend on access to the account’s mailbox and reliable email delivery. They do not add an independent factor when paired with another code sent to that same mailbox. Required device verification still applies.
Then consider the destination. A member may need their account page, while an editor needs a publishing workspace. Redirect rules can choose that next page. The page itself still needs the appropriate WordPress or membership permissions.
Assign someone to review the activity
An alert is useful when someone knows what to do with it. Choose a recipient for selected role sign-ins and blocked-address notifications, then test delivery. Use a digest for activity that is better reviewed together.
When a sign-in looks unfamiliar, check the audit log and ask the account owner about it. Compare the timing with maintenance work or a change of connection. An unfamiliar address alone is not enough to establish a compromise.
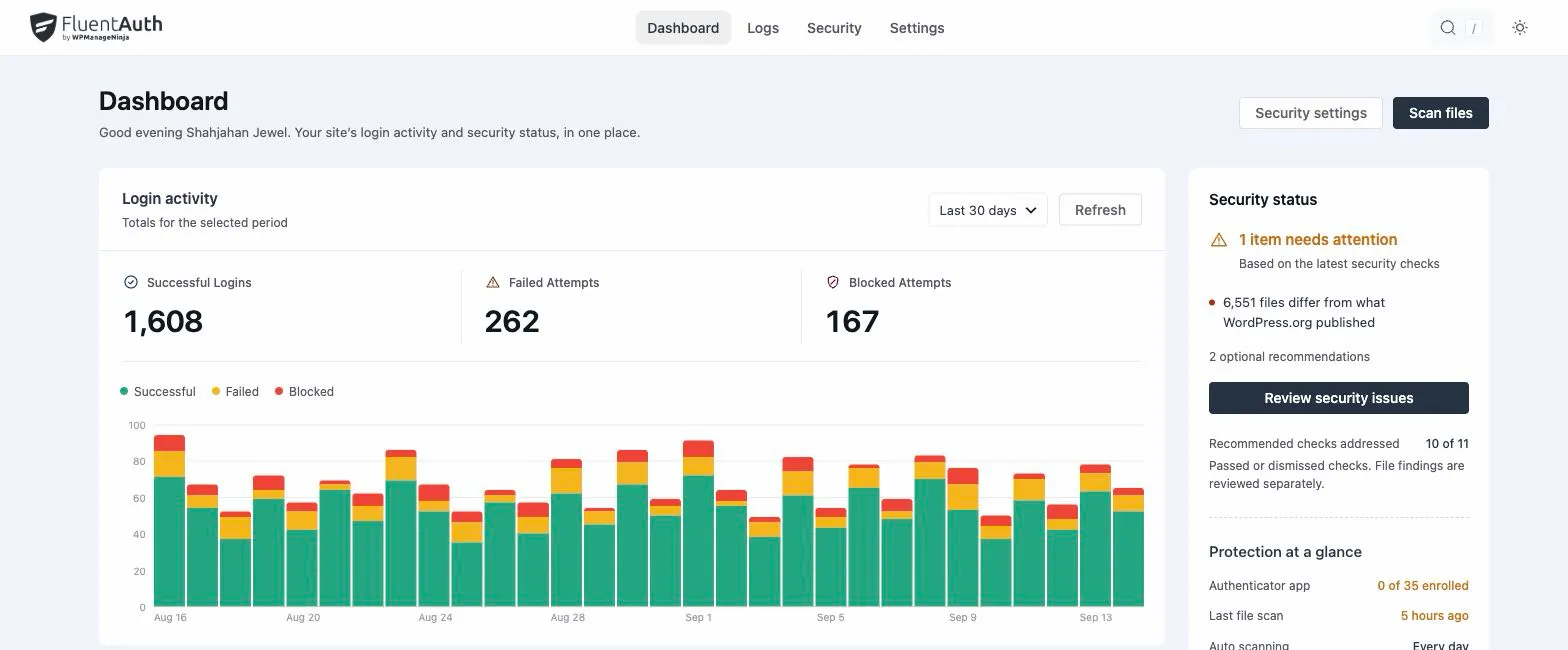
Since 3.0 the log also carries plugin activity, alongside a security checklist and expanded file monitoring. These give maintainers more context for a review. File differences still need interpretation: an update, a custom edit and an unwanted modification can all change a file.
Roll out the policy on an existing site
You do not need to redesign the whole account journey at once. Start with one representative account for each important role.
- List the current sign-in routes. Include the normal login page, custom forms, checkout and any connected provider.
- Choose one policy change. Test the method and recovery route with the affected role before extending it to everyone.
- Review overlapping settings. If another plugin already controls login limits, verification or redirects, decide which tool will own each job.
- Test the real journey. Sign in, follow the destination, sign out and recover access using a test account.
- Tell the team what changed. Explain the new prompt, where to find help and who reviews unexpected activity.
Keep backups and your site’s wider maintenance routine in place. FluentAuth focuses on supported login protections, activity review and file tools; those jobs sit alongside updates and the protections supplied by your host.
Explore FluentAuth’s features to choose your starting point, or follow the first-day setup guide to put the available controls to work.