
Configure “Login with Google” is super easy. First you have to create an application in Google portal.
Create Application in Google Developer Console
- Create a project from Google Developers Console if none exists
- Go to Credentials tab, then create credential for OAuth client.
- Select Web Application as Application type
- Application type will be Web Application
- Add YOUR_DOMAIN/wp-login.php in Authorized redirect URIs
- This will give you Client ID and Secret key.
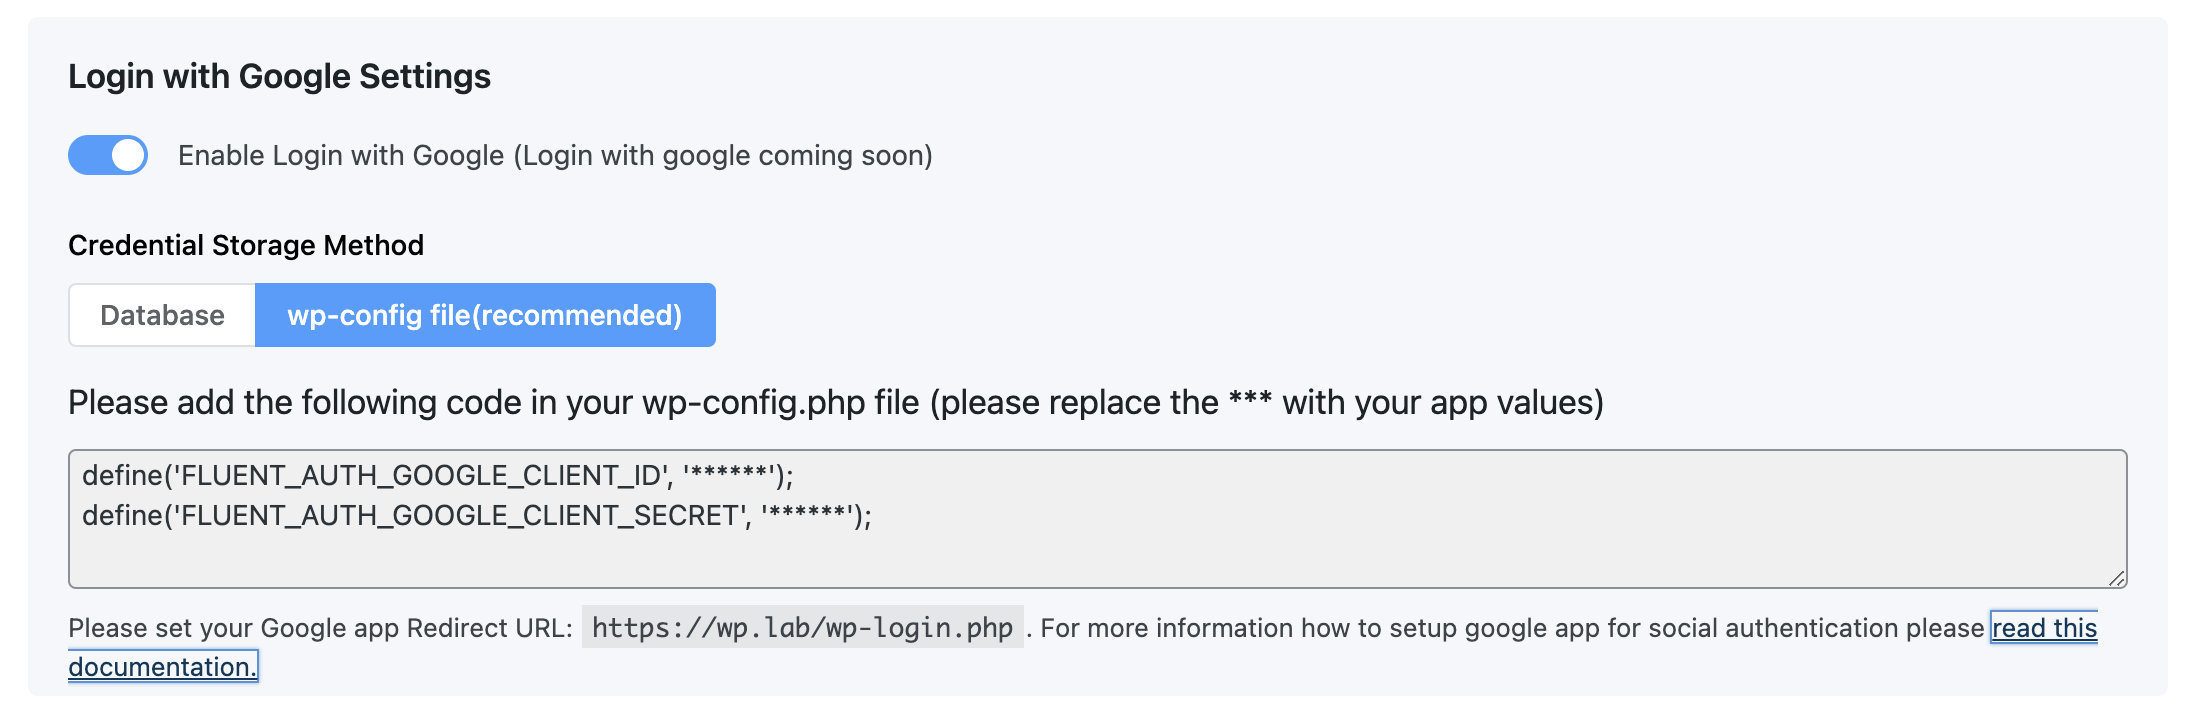
- Input these values either in WP Admin > FluentAuth > Social Login -> Login with Google Settings, or in wp-config.php using the following code snippet:
define('FLUENT_AUTH_GOOGLE_CLIENT_ID', '******');
define('FLUENT_AUTH_GOOGLE_CLIENT_SECRET', '******');
It is recommended to use the wp-config instruction to save the credentials in wp-config.php file.
Once you set the credential to FluentAuth, Click save button in FluentAuth.
Now, your users can Signup or Login with Google profile.